Implementing Campaign Manager - External Integrations
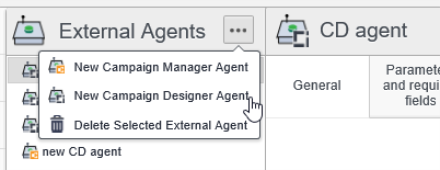
Create a Campaign Designer External AgentOpen the External Agents screen. Click the Action button at the top of the screen and select the New Campaign Designer Agent option from the drop down menu:
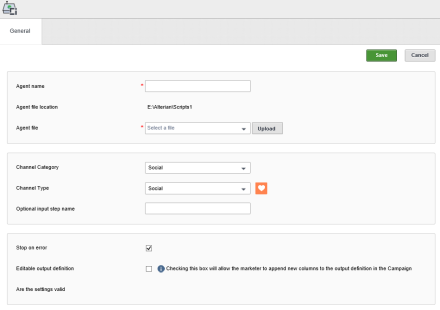
This will open the New Agent screen:
Agent NameEnter a name for the Agent Agent File LocationThe file location where Kettle files are stored, which is created on the Application/Web server during installation and for each new Client when using the NewClient API. Each client will create a path with a sub-folder of the internal Client ID. Default location is based on the application installation folder then \Alterian\Scripts\<ClientID>. Agent FileIf the file already exists in the default file location, click the drop down arrow and select the required Kettle file that will be used for this external agent. If the required file does not already exist, click the Upload button and navigate to the required file. Only files with an extension of .ktr or .kjb can be uploaded. Other file types can be selected but will fail validation when Campaign Manager attempts to upload them. Once the file has been uploaded it can be selected from the drop down list.
Channel Category / Channel TypeChannel Types are grouped in to Categories, select the required Category and then the Channel Type applicable to this Agent. The icon for the selected Channel will be displayed next to the field. This icon will also be used for the Omni Channel Element when creating the Campaign.
Optional Input Step NameIf the Agent has an optional input step, enter a name for it here. Stop on ErrorTick if processing should stop when the Agent encounters an error. Editable Output DefinitionTick this check box if you wish to allow a marketer using Campaign Designer to add additional Columns to the output definition in the Campaign. If the check box is left unticked, only the columns defined by the script can be included in the output definition. Are the Settings ValidThis is a system driven field and indicates if the settings of the Agent are valid. Once all information is entered, click Save. This will add the External Agent to the left hand panel. |


|
© Alterian. All Rights Reserved. | Privacy Policy | Legal Notice |   |